Lava Underfloor Heating Cable Repair Kit
Lava Underfloor Heating Cable Repair Kit
We recommend that only a qualified electrician carries out the repair and that proprietary crimp pliers are used where possible. (Note the glue lined heat shrink sleeve shrinks to about ¼ of its original diameter).
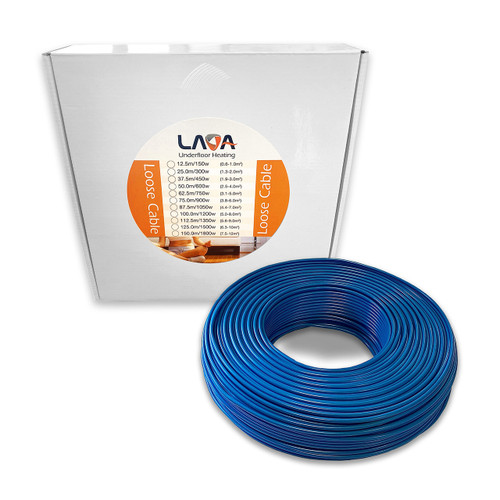
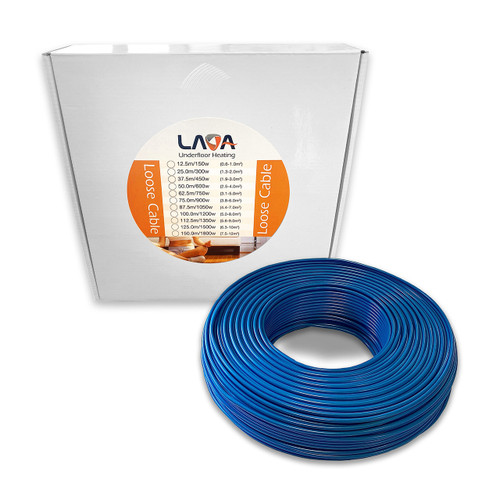
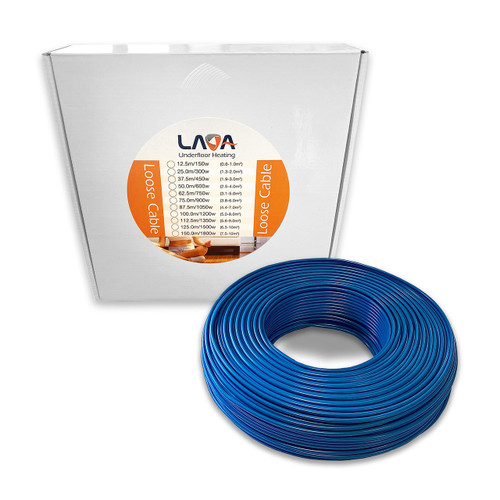
The repair kit includes crimps (+spares), small and large heat shrink sleeving and a short length of wire.
We recommend that only a qualified electrician carries out the repair and that proprietary crimp pliers are used where possible. (Note the glue lined heat shrink sleeve shrinks to about ¼ of its original diameter).
Once the damaged area of element has been identified, cut off the damaged area cleanly and carefully remove the outer insulation and the foil earth wrap to expose the element wires and the earth wire. Repeat with the other end of the heating cable and each end of the short length of cable (if you require a jointing section if the two pieces of heating cable can be pulled together the jointing piece is not required).
Next, slide a length of the large diameter heat shrink sleeve over the whole joint and down over the outer insulation on one side. You will need to expose a sufficient amount of cable to do this.
Remove inner insulation to expose a sufficient length of heating element (It is a good idea at this stage to circuit test both sides of the break to ensure that the rest of the heating element is OK Twist the neutral and live on the thermostat end to test this side of the cable). Test that there is no resistance down live and earth neutral and earth on both sides as well.
Once the test has been carried out, slide the required lengths of heat shrink sleeve over the two element ends and down over the inner insulation.
Make the joints by firstly fixing a small crimp to each of the element wires. The relevant element wires can then be joined together by fixing a larger crimp over them at this point try to pull the wires gently a part to ensure the joint is sufficient). Slide the small heat shrink over the newly formed joint ensuring that it is covering the inner insulation on both parts of the joint.
Use a larger crimp for the earth braid. Once all the joints are secure, test the cable from the thermostat end including live and earth neutral and earth. If all tests ok, now you can use a heat gun to shrink the smaller sleeves over the heating elements, followed by the larger sleeve over all the joints.
Once again, check the cable resistance to make sure all is still ok.
If you need any further assistance, please contact us on 01937534577.


