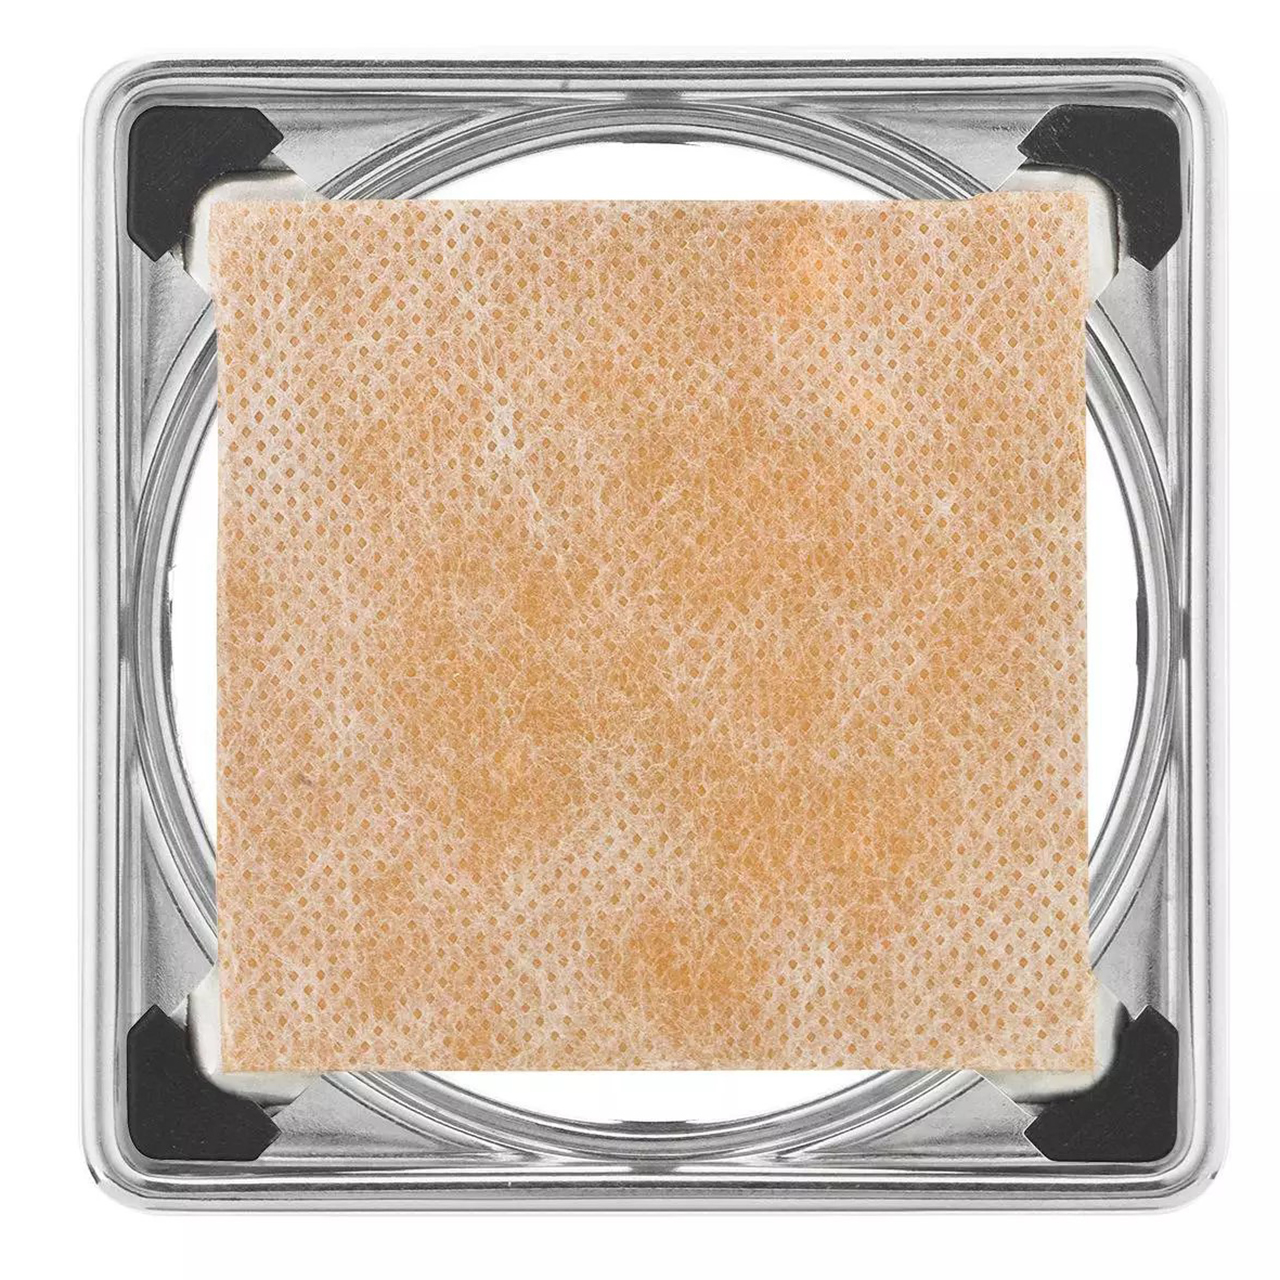
Designed to be tileable, this cover plate allows you to seamlessly embed your chosen tile directly onto its surface. This means your drain virtually disappears, blending perfectly with your shower floor and creating an uninterrupted visual flow. Forget clunky, contrasting grate designs; the KERDI-DRAIN Cover Design 4 delivers a clean, modern, and sophisticated finish that elevates your entire wetroom experience. Crafted from durable stainless steel, it provides both style and longevity.
Colour/surface - Brushed Stainless Steel
Material - Stainless Steel
Length - 10cm
Width - 10cm
Gross Weight - 0.225 kg
In the box
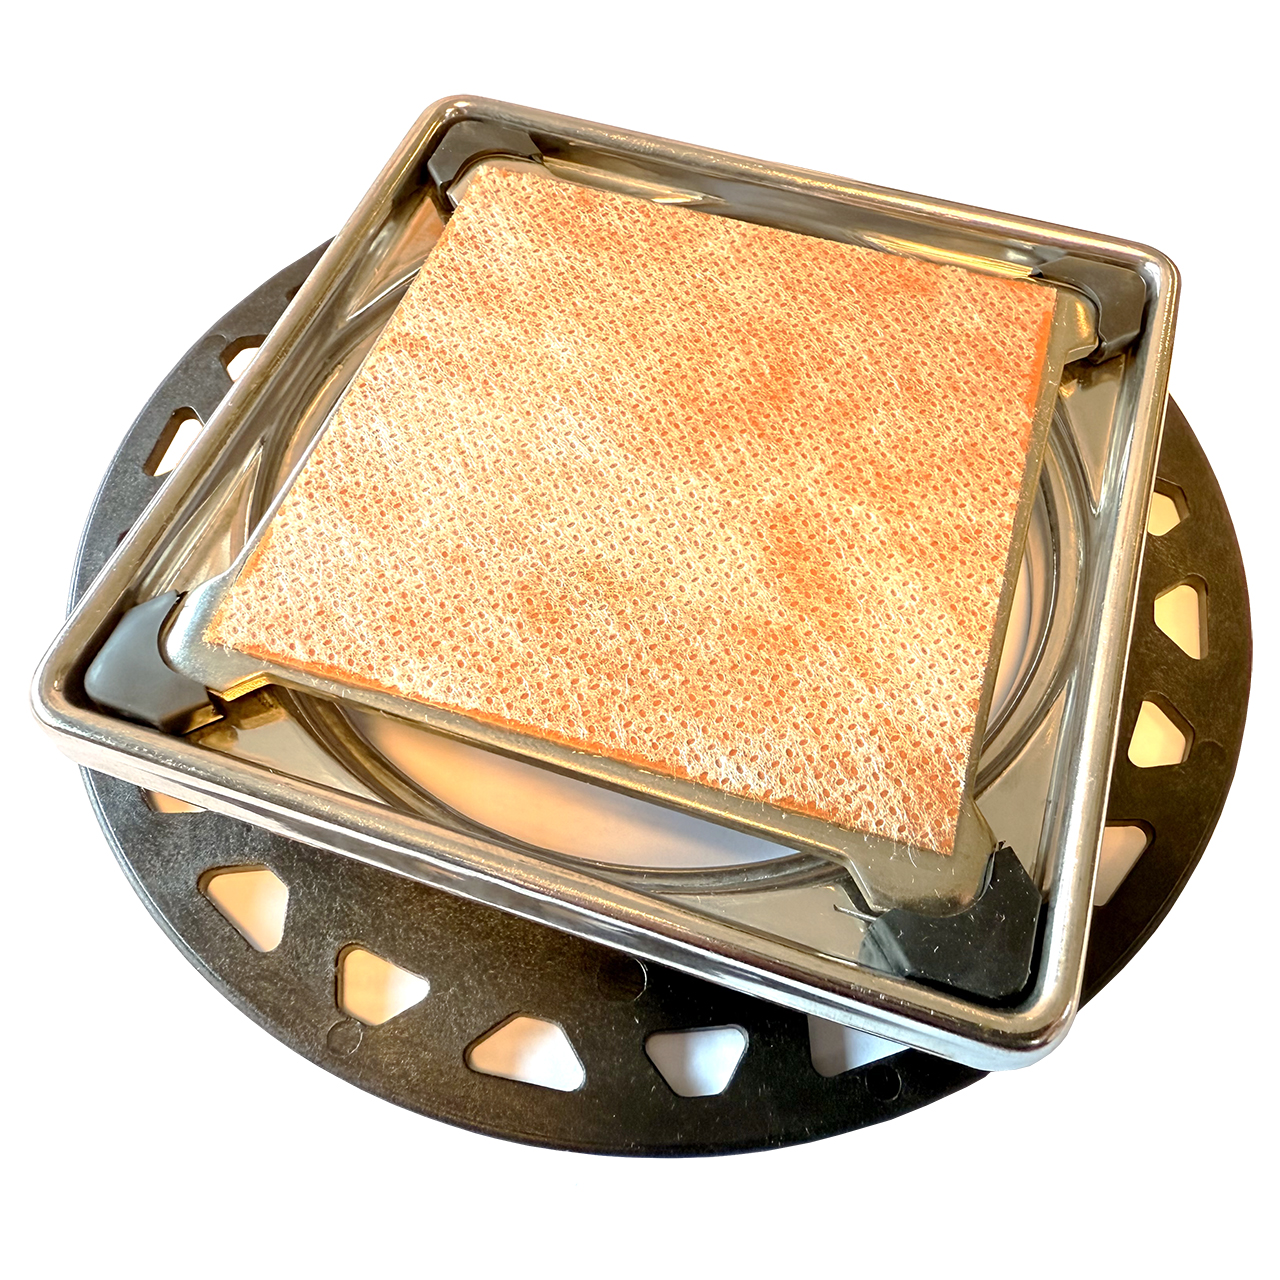
- Stainless Steel Frame
- Height Adjustment Ring
- Spacer (Fig. 4)
- Covering Support
- The installation of the covering can begin as soon as Schlüter-KERDI Collar has been adhered with the sealing adhesive Schlüter-KERDI-COLL-L. Suitable covering materials include ceramic tiles or natural stone.
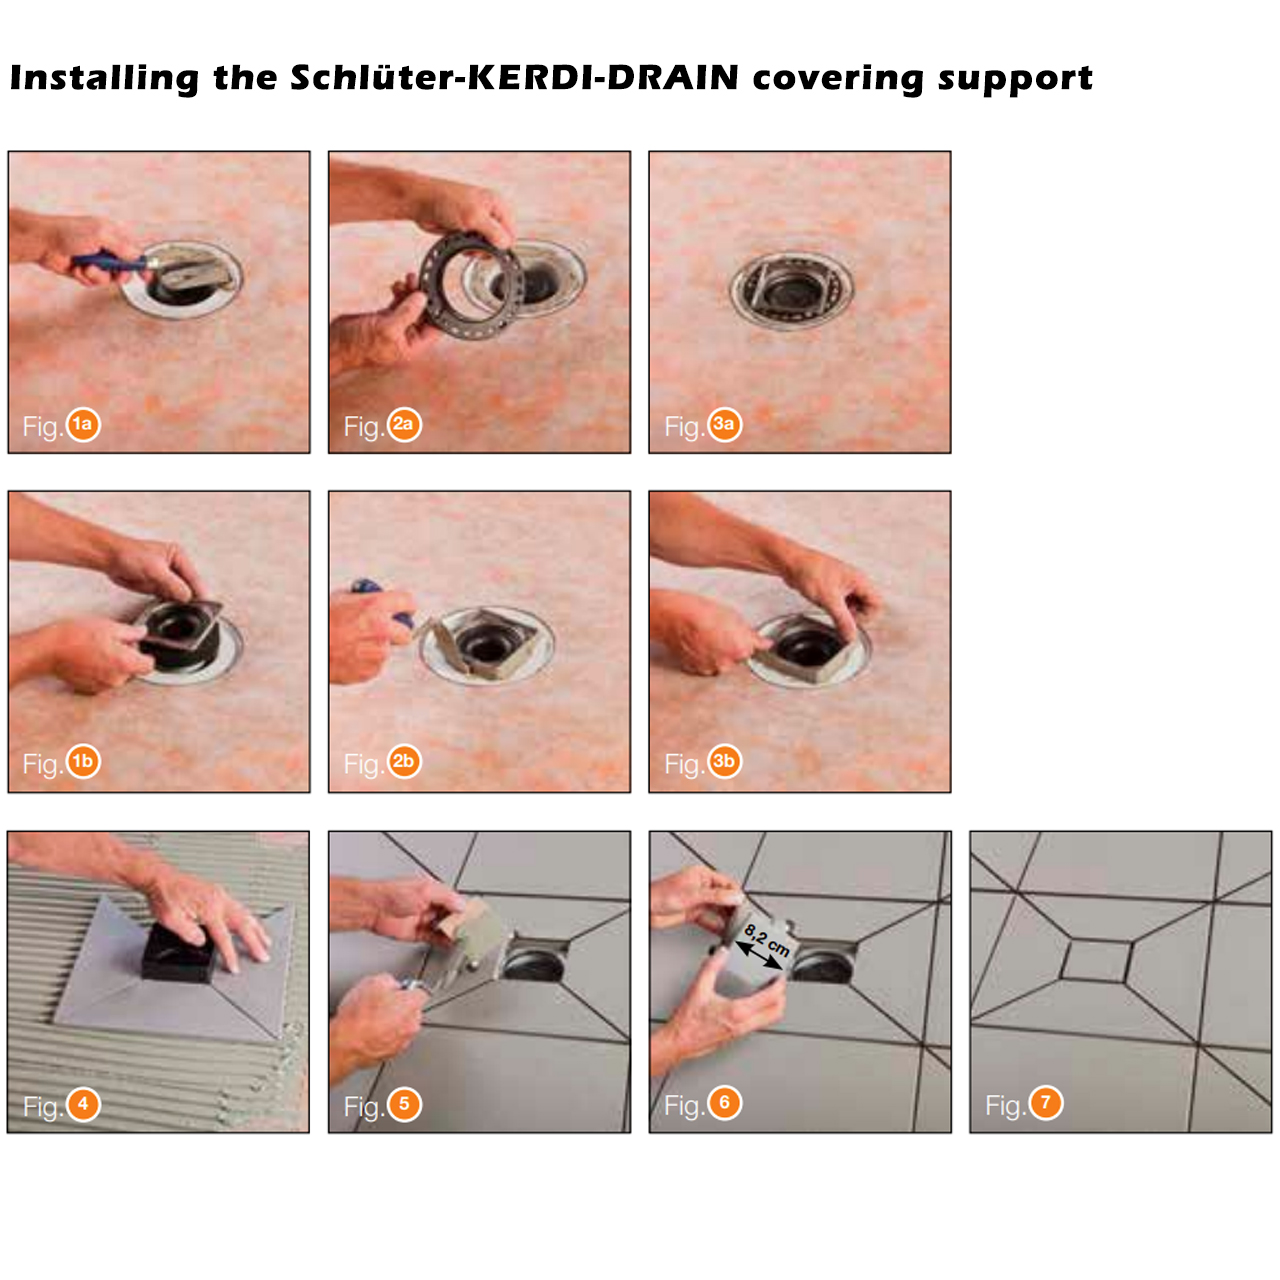
- Covering support with substructure and adjustment collar. Thin-bed adhesive is applied to the thin-set floor drain (Fig. 1a). The stainless steel frame with the perforated holes is placed into the recessed openings of the adjustment collar (Fig. 2a) and embedded it in the thin-bed adhesive (Fig. 3a). Covering support with substructure and integrated odour trap. The stainless steel grate with neck is placed into the thin-set insert (Fig. 1b), set in adhesive (Fig. 2b), and then pushed in to the maximum depth (Fig. 3b).
- Once the spacer has been placed, the installation of the covering can begin. It is important to install the covering directly adjoining the spacer at the frame (Fig. 4). Any excess adhesive must be wiped off after removing the spacer.
- Place thin-bed adhesive on the covering support (Fig. 5) and adhere it to the matching covering cut-out of 8.2 x 8.2 cm (Fig. 6) to create a peripheral water drainage gap of at least 5 mm (Fig. 7)
- NB - Floor Drain is sold separately
Note:
For neat appearance, it is recommended to use a wet cutting machine for custom cuts and to bevel the edges.
The installation instructions included with the drain body also must be observed.